Alphabet Decals
SUMMARY:
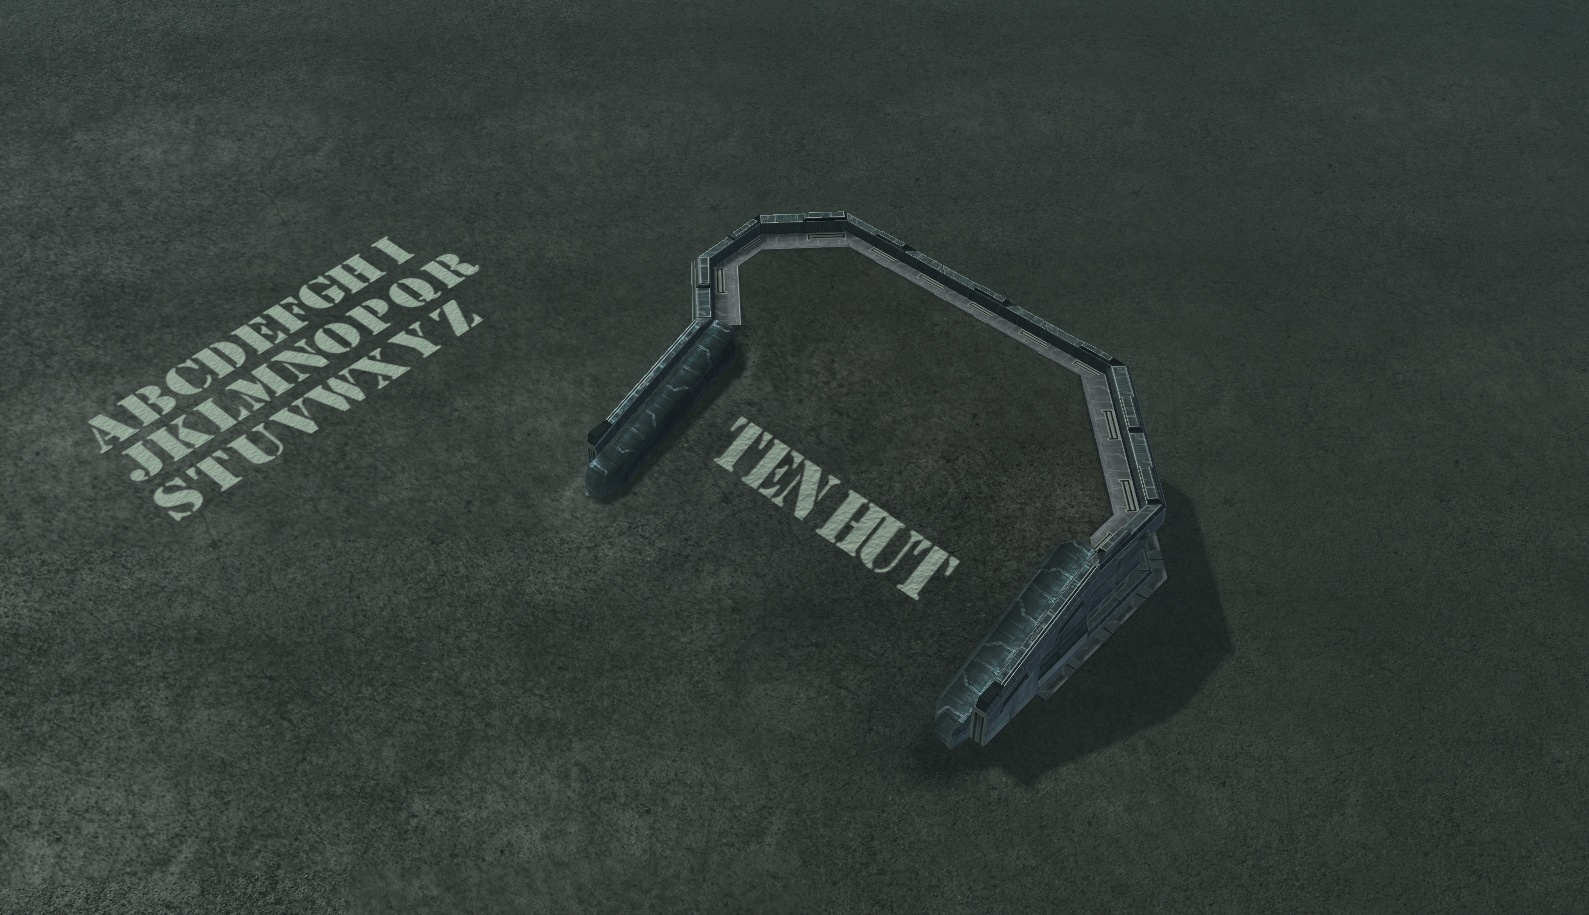
According to necessity and the lack of independent 'letter' Decals (Only having numbers), I've been through considerable trouble in making a proper Decal for flexible phrase-making and section describing, with all letters available. It's a very early work and only one font is available, but more will come, in time, and more updated and crisp.
Includes 'Read Me'.
Available fonts: - Eurostyle - Regular (UPGRADED)
INSTALLING THE DECALS:
- Open the editor and the desired map.
- Open the Import Editor.
- Import first the .dds textures, and ensure their path is "Assets/Textures".
- Import the .m3 models, and ensure their path is "Assets/Doodads/DecalAlpha".
SETTING THE ACTOR AND MODEL
- Open the Data Editor, and open the Actor tab.
- Create a new Actor named 'Decal - Alphabet', set the ID to 'DecalAlphabet'. Set the Actor Type list to 'Doodad', the Parent list to 'CActorDoodad' and the Doodad Type list to 'Props'. Choose 'Copy From', below, click the 'Choose' button. In the opening window, type decal in the search text and select 'Decal'. Click OK to create the Actor.
- For now, leave it be, as you'll create the model. Now open the Models tab. - Create a new Model named 'Decal - Alphabet', as well, set the ID too to 'DecalAlphabet'. Set the Model Type list to 'Generic', the Parent list to 'Doodad' and the Race list to Neutral. Choose 'Copy From', click 'Choose' and select Decal.
- On the Model, select '(Basic) Art: Model' on the table, type 'DecalAlpha' and select 'DecalAlpha_00.m3'. Click OK to confirm the model.
- Go to 'XML View' (Select the orange button with the XML letters written), and the right field will transform to XML text. You'll alter the 'DecalAlpha_00' by erasing the '_00', making it 'DecalAlpha.m3'. This will acknowledge all 'DecalAlpha' variation files. Return to 'Table View' (At the same row where the XML button is, click the first button.).
- Select '(Basic) Art: Variation Count' on the table, and set the number to '26'.
- Return to the Actor Tab, select the 'Decal - Alphabet' actor you created. On the right field, double-click on '(Basic) Actor: Model'. Select 'Decal - Alphabet' and click OK.
If it all works out, it should show the decals normally. If not, check the paths of the textures/models, as well as the XML in the 'Models' tab and the 'Actor'. Ensure the 'Variation Count' is '26'.
IMPORTANT NOTE: This is a Projector model, so it won't recolor with HDR multiplier or custom color. The only thing it'll show is the model, and it'll remain white and a bit blurry. Also, these Projectors don't support emissive maps.
Special thanks to: BlinkHawk for the SC2 Projector suggestion.
CONTACT:
PM DeltaCadimus at Sc2Mapster.com for requests/information.
Comments


-

DeltaCadimus Owner
-
View User Profile
-
Send Message
Posted Nov 15, 2016Implemented here: https://www.sc2mapster.com/assets/alphabet-decal/
-
View User Profile
-
Send Message
Posted Nov 9, 2015Fantastic. How does one implement it on the map (F5)?